Call us at 855-464-8873 or Schedule a Consultation
Interested in the advantages of artificial turf for your home? Many homeowners like yourself are intrigued by the countless advantages it offers. However, we understand that budget constraints can be a concern when planning renovations.
You might be wondering: “Is it possible for me to install synthetic turf on my own?” Absolutely, you can! Installing artificial turf yourself is a great way to cut costs. But – it’s important to consider if you’re up for the task.
While the DIY route can save you money, it does require some labor and effort. No need to worry, we’ll provide assistance throughout the entire process!
Check out our instructions below on how to install artificial grass. These resources provide a visual guide and help you decide if you’re up for the challenge. Remember, each installation step is crucial for a stunning, problem-free artificial lawn. With proper preparation, your artificial turf will drain perfectly and stay beautiful for over 15 years!
Donna Kent

Step 1: Measure Your Project Area and Choose Turf
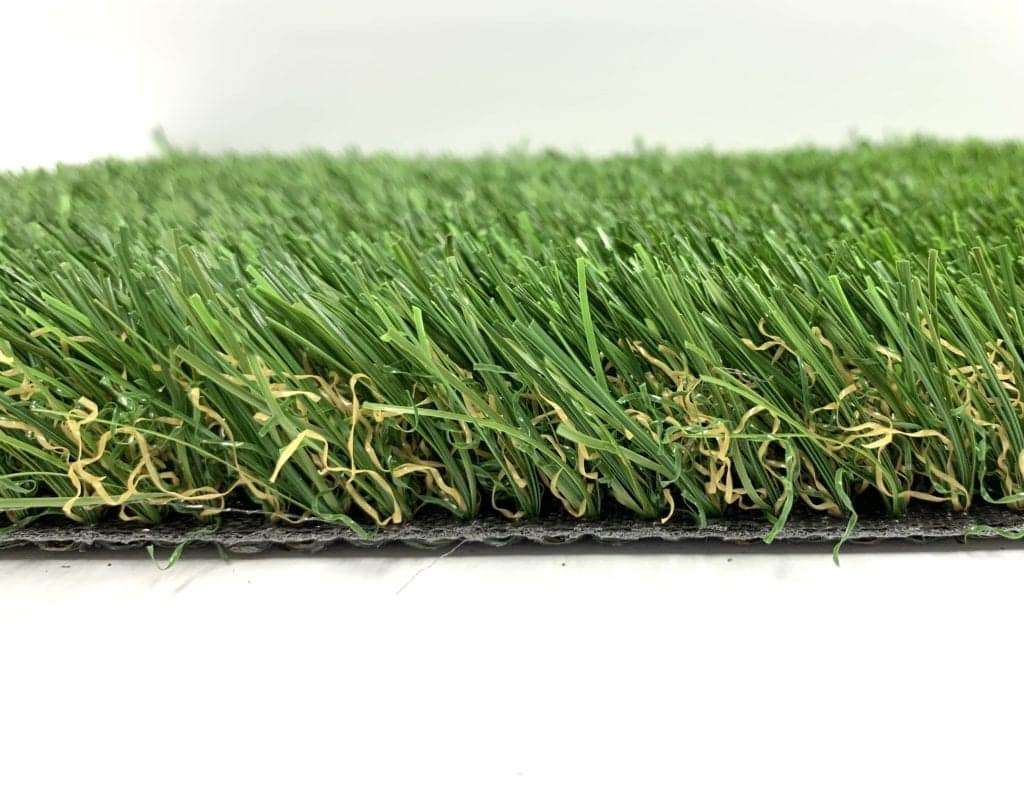
Choose your turf and ensure you have enough rolls by accurately measuring your project area. Typically, turf rolls have a width of 15 feet and you can cut them to your desired length. This step is crucial in determining your roll layout.
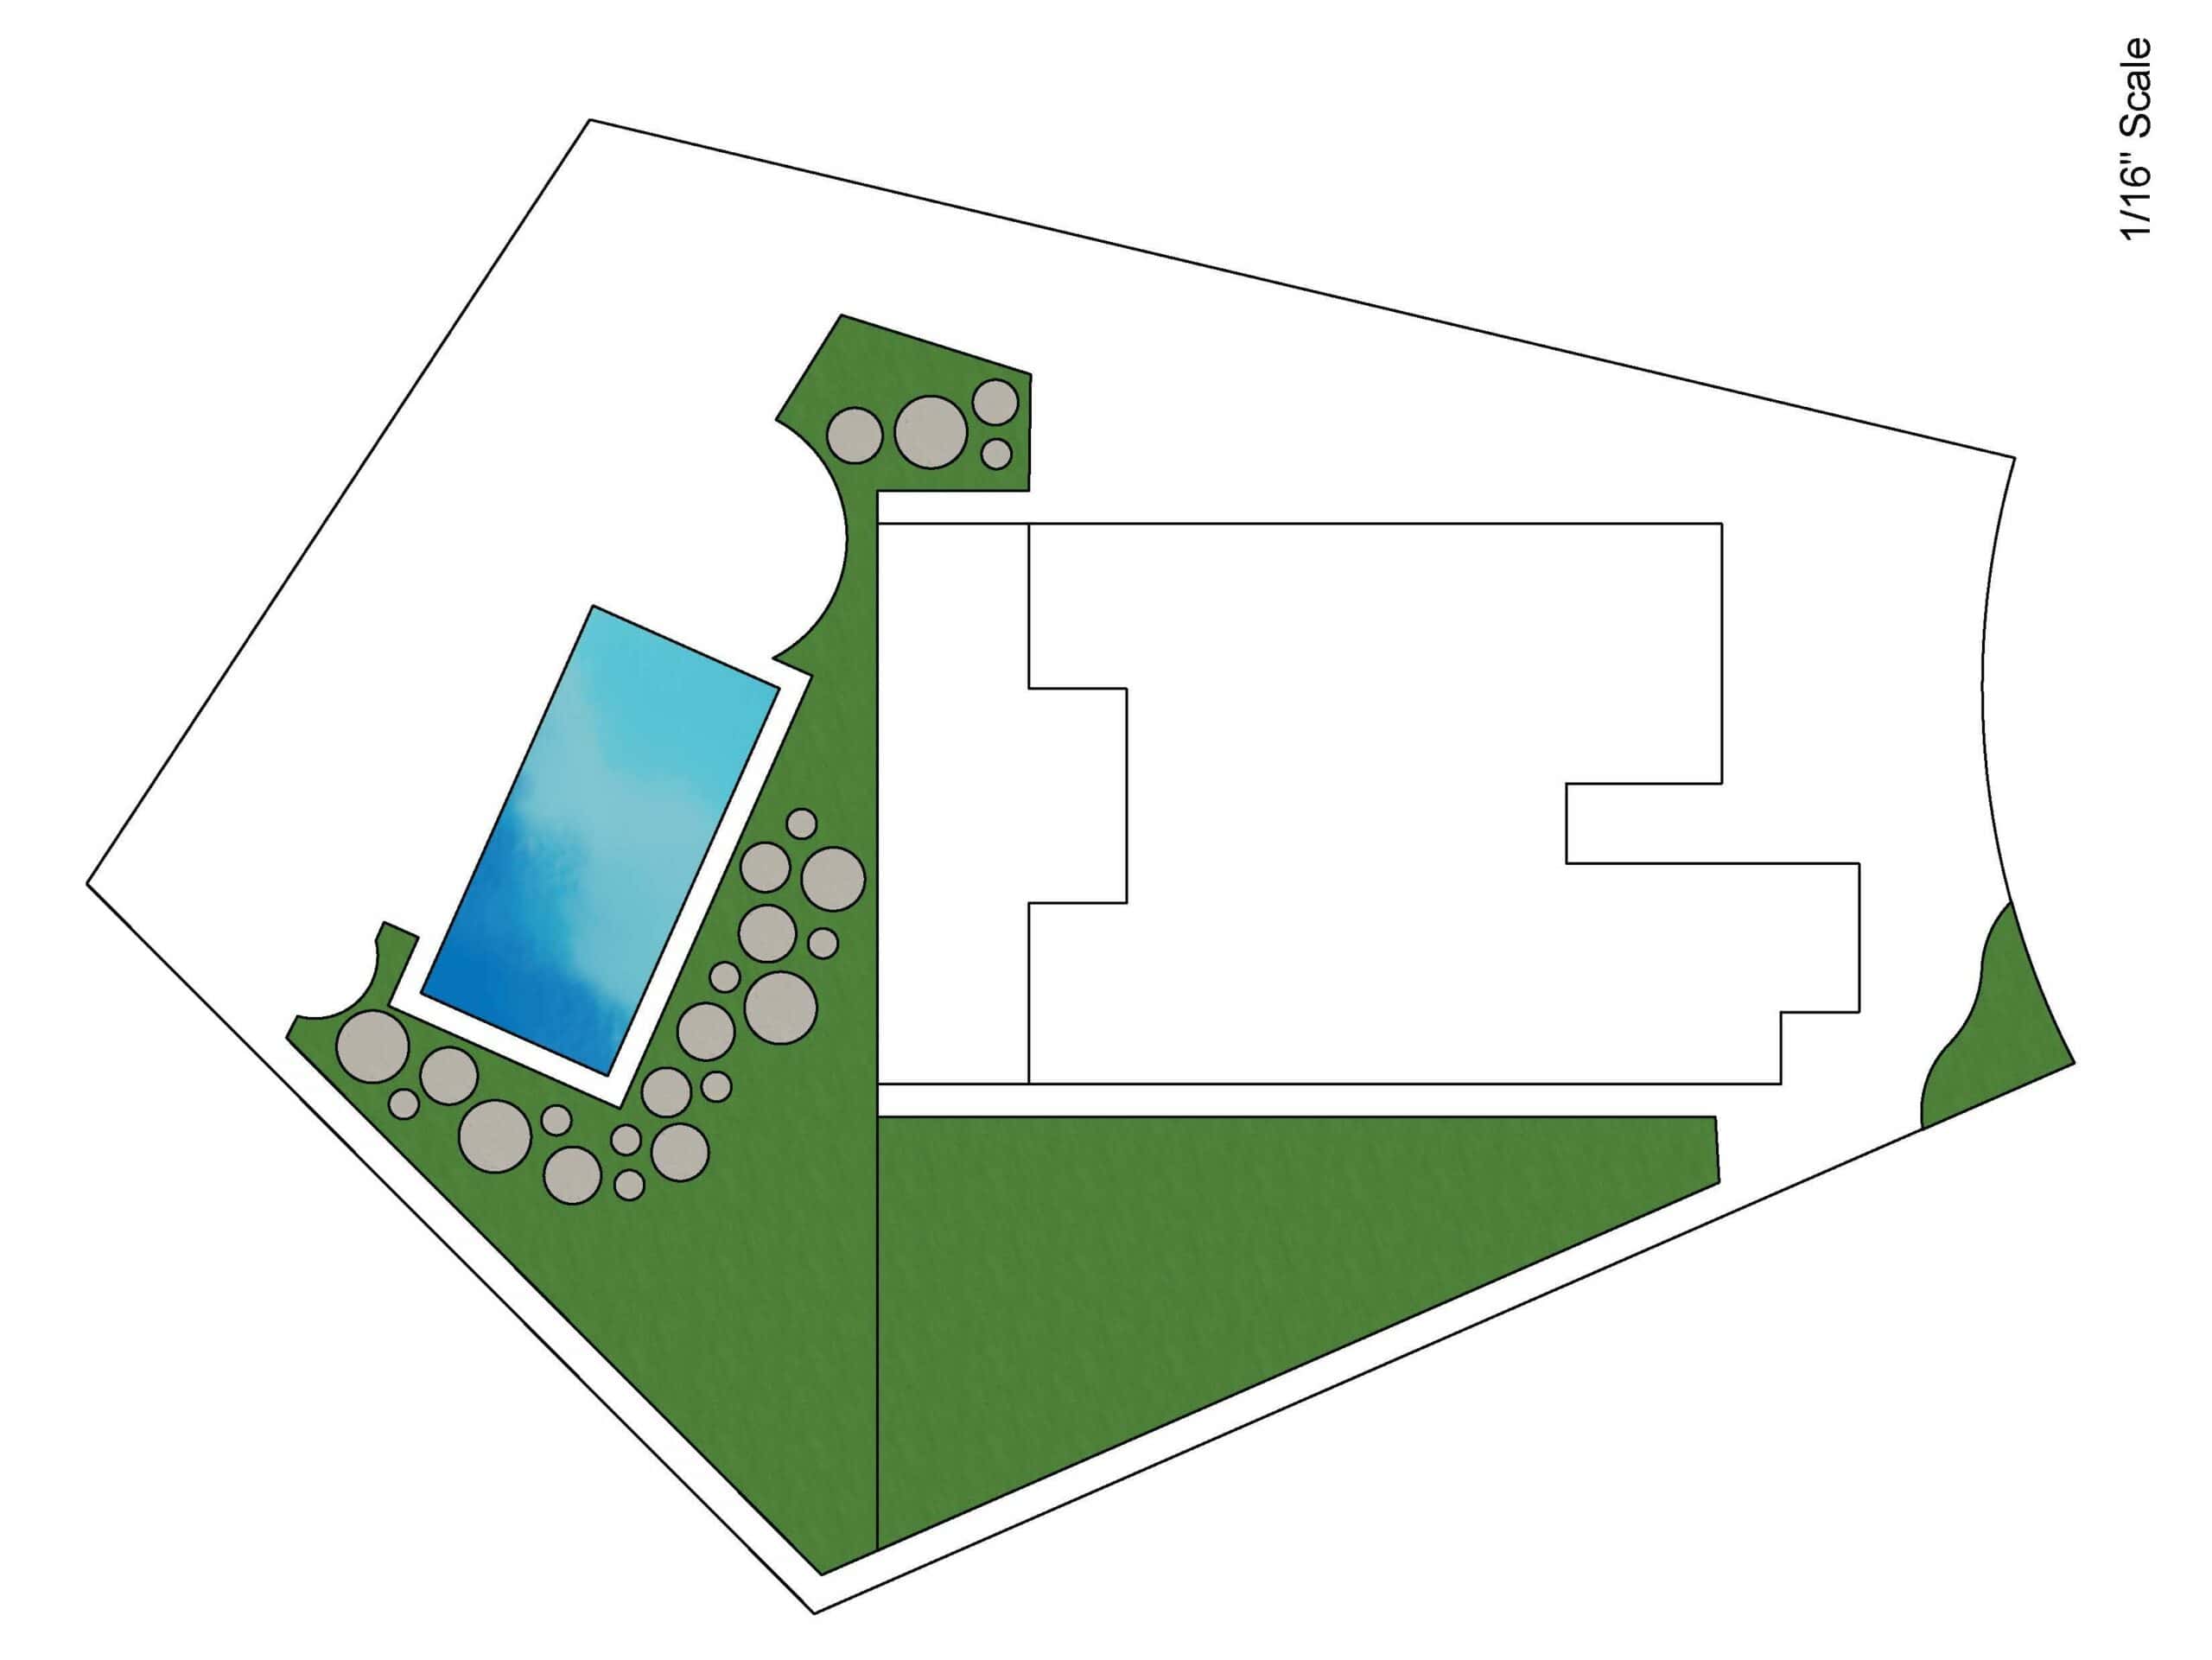
Plan your project area layout by using a free online CAD tool or drawing a simple blueprint on graphing paper. While not required, a blueprint will help with organization and ensure accurate measurements.
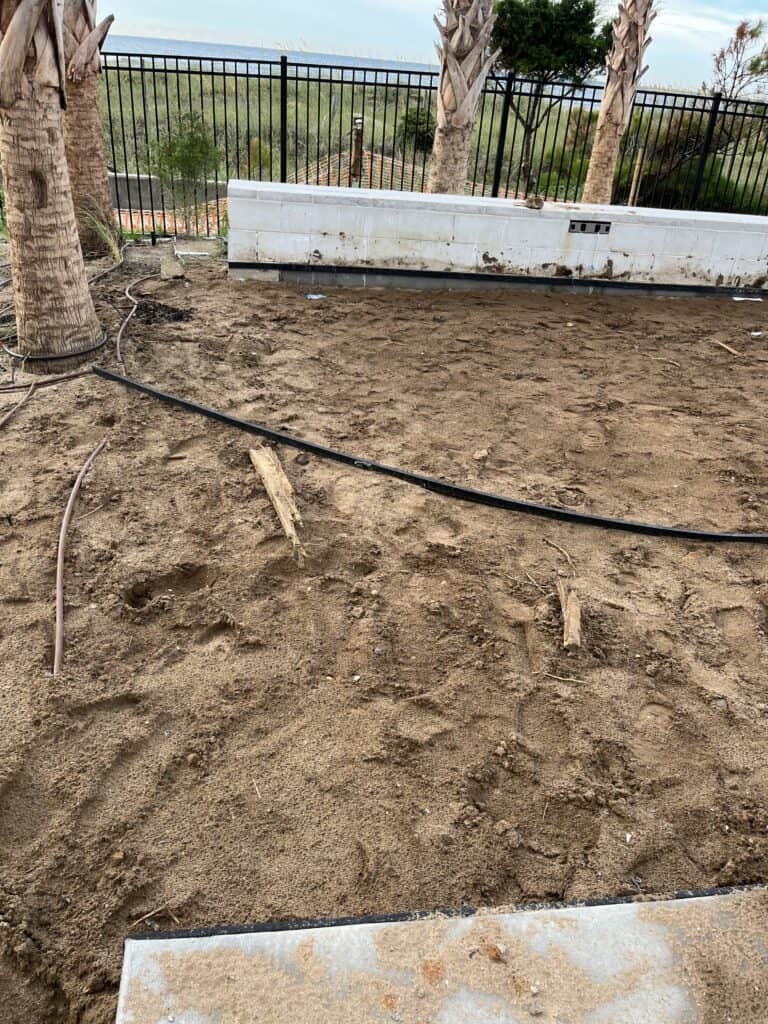
Next, remove the existing natural grass, soil, or sod from your project site. This is a labor-intensive step, so consider having a truck or wheelbarrow handy and enlisting friends or family to help. Don’t forget to remove any sprinkler lines or tree roots that may cause issues.
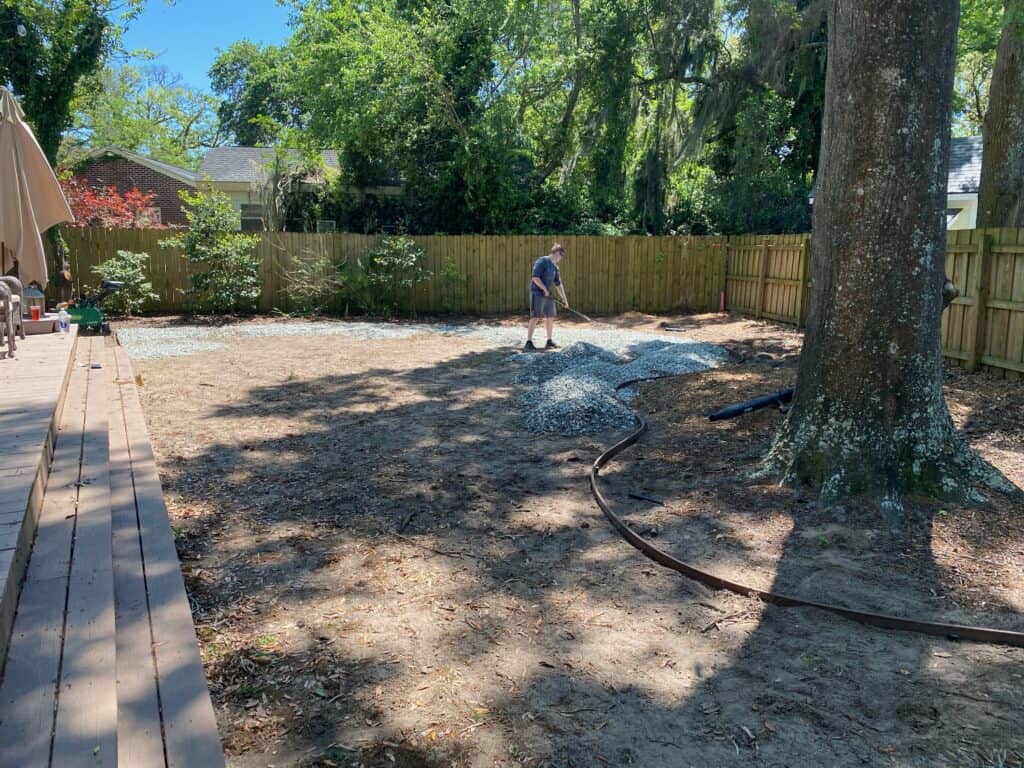
Once the area is clear and level, start unloading the gravel base. Aim for a 3-5 inch layer of gravel across the entire turf installation area. Make sure to slope the base away from your home to direct water flow away from it. After laying the gravel, add crushed fine particles to create a smooth, secure surface.
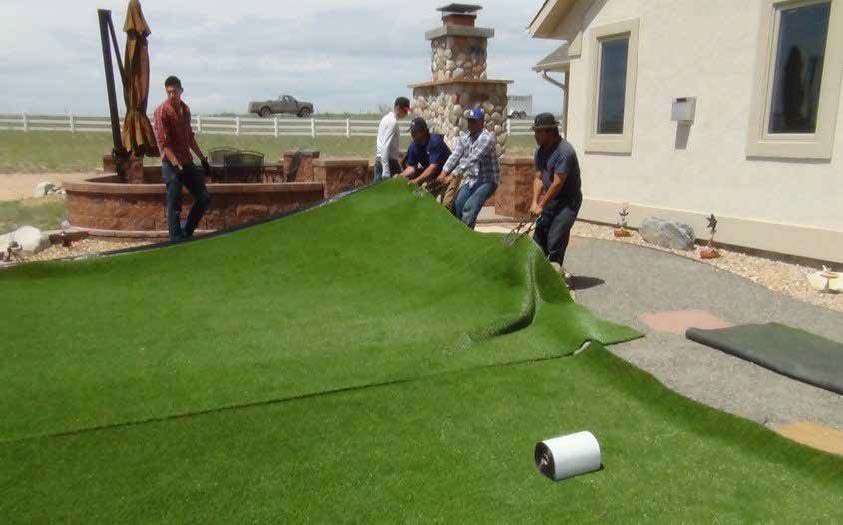
Roll out the turf on top of the base area, taking care not to disturb the crushed fines. Any indentations that occur at this stage will be visible once the turf is laid out. Cut the turf with a utility knife and glue the seams together, then stretch and secure the turf into the base layer using nails. Ensure that the turf is tightly secured and free of tripping hazards.
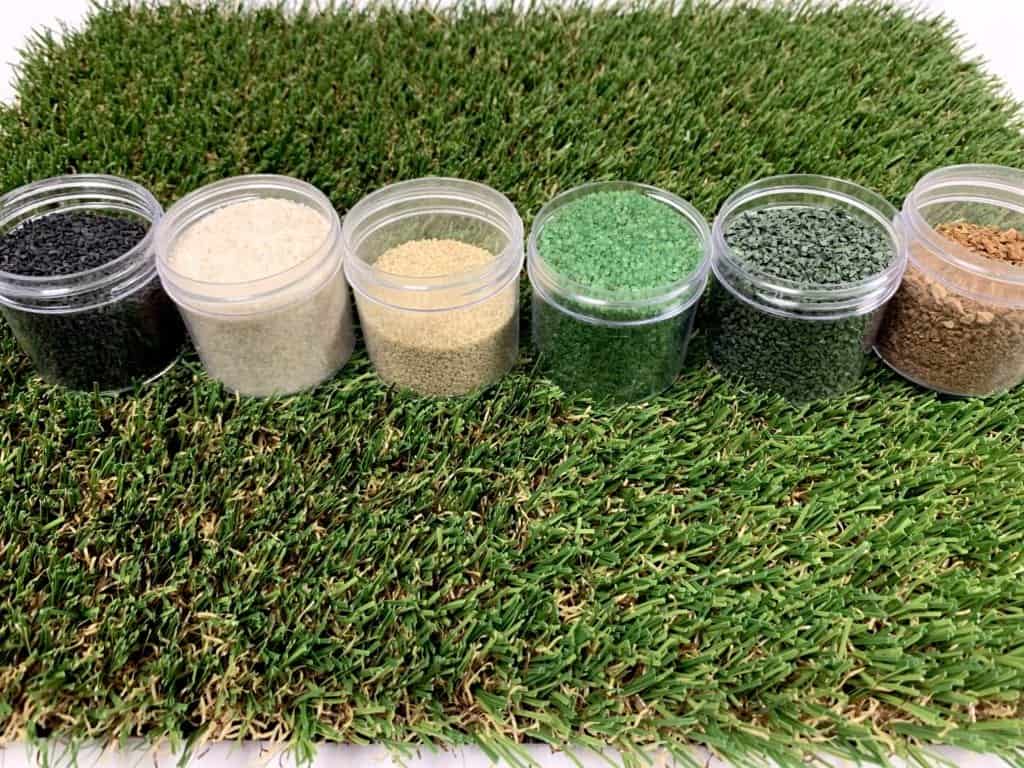
Finally, the last and most important step is infill. Adding infill will weigh down the turf and provide ballast. Choose sand or silica sand infill, distributing it evenly using a seed broadcaster. This will prevent any uneven areas or lumps in the turf.
We’ve had numerous homeowners achieve flawless results by installing synthetic grass themselves. Believe us, a few days of intense effort will be completely rewarding. Imagine enjoying a gorgeous, low-maintenance lawn for years to come!
In conclusion, installing artificial turf yourself is a huge commitment and can be a bit daunting. But with the right supplies, support, and instructions you can achieve a flawless lawn for your home or business. From the highest quality artificial turf, ProGreen has you covered whenever you decide to jump into the world of synthetic surfaces.
Not sure if do-it-yourself is really for you? We have certified ProGreen installers across the country ready to help! We’ll make sure that your dream of a lush green garden is realized without any hassles!
Got questions about the installation process? We’re here to help! Feel free to reach out to us anytime.
Donna Kent