How to Install Artificial Turf for Dogs | 7 Easy Steps to Pet Turf Installation
ProGreen is providing you with an 8 step guide on how to install artificial turf for dogs. Its that time of year to spoil your pets, and what better gift can you give than a perfectly manicured backyard. The list of benefits for artificial turf go on and on. Our turf experts at ProGreen want to share how to complete the entire turf installation process, for your new pet friendly backyard.
Before you begin any of the steps, you’re going to need to select the best turf for your dogs needs. It is a good idea to choose a pet specific product like the ones listed below:
K9 Deluxe | K9 Champion | K9 Terra
These specific types of turf provide maximum durability and drainage. One of the most common questions we get asked when discussing our artificial turf made for dogs is, “how bad is the smell from urine and fecal matter?” All of our turf products are patented with ProGreen’s ProFlow backing. The backing technology allows for superior drainage through the turf and provides a designated channel for the urine/fecal matter to travel. You’ll need to spray down your pet turf every so often to make sure your pet’s droppings don’t remain stagnate for too long.
Tools and Materials You’ll Need to Install Artificial Dog Turf
- Tape Measurer & Yard Stakes
- Shovels & Heavy Duty Metal Rake
- Tamping Tool (hand or gas powered)
- Straight edge knife, heavy duty scissors, or power cutters
- Gravel and crushed fines (sub-turf base layer)
- Perimeter Board or Timbers
- Infill (sand, silica sand, crumb rubber, etc.)
- Seam Tape and Glue
- Infill Broadcaster/Spreader (just like you’ve used for spreading seeds or fertilizer)
- Carpet Stretching Tool

Step 1: Measure Your Project Area
Take your tape measurer and yard stakes and clearly map out the area where you’re going to install your artificial turf. Typically your goal is going to be to determine how many rolls of turf you’re going to need to purchase and install. The turf roll size is typically 14 feet wide and can be cut to your desired length.
We call this “determining your roll layout”.
Step 2: Create Your Project Blueprint
Now that you’ve drawn our your project area, input the measurements into a free online CAD tool. You can even hand draw the area on a piece of graphing paper. It is always a good idea to correctly measure and make a simple blueprint for your proposed project area.
Here is a list of some of the top free backyard CAD landscape tools. While it is not a requirement for you to make a blueprint, it will help with the organization and layout of your project.
Step 3: Demolition / Removal of Existing Grass
This is the fun part! Now you get to put in the labor to clear out the current grass, dirt, sod, etc. This is one of the most labor-intensive steps of installing artificial turf for dogs. It’s a good idea to have a truck or wheelbarrow handy during this step. Additionally, you might want to recruit some friends or family members to aid with the demolition.
Make sure you clear or re-route any sprinkler lines or roots in the area. If you leave tree roots in the new turf area this can lead to unsightly bumps in your new yard.
Step 4: Installing the Base
Now that the dirt area is clear and level, you can begin unloading the gravel base. Typically, you’re going to install about 3-5 inches of gravel across the entire area where the turf is going to be installed. It is very important to remember that when you’re installing the base layer that you slope it away from your home. Grading the base layer away from the home is very important. It will ensure that the flow of water is directed away from in or around your home.
Now that the base gravel is in, you can add on the crushed fine particles. These fine particles are what you’re going to tamp down and smooth out. These fines fill in-between the gravel to give you a flat, even surface to secure the turf to.
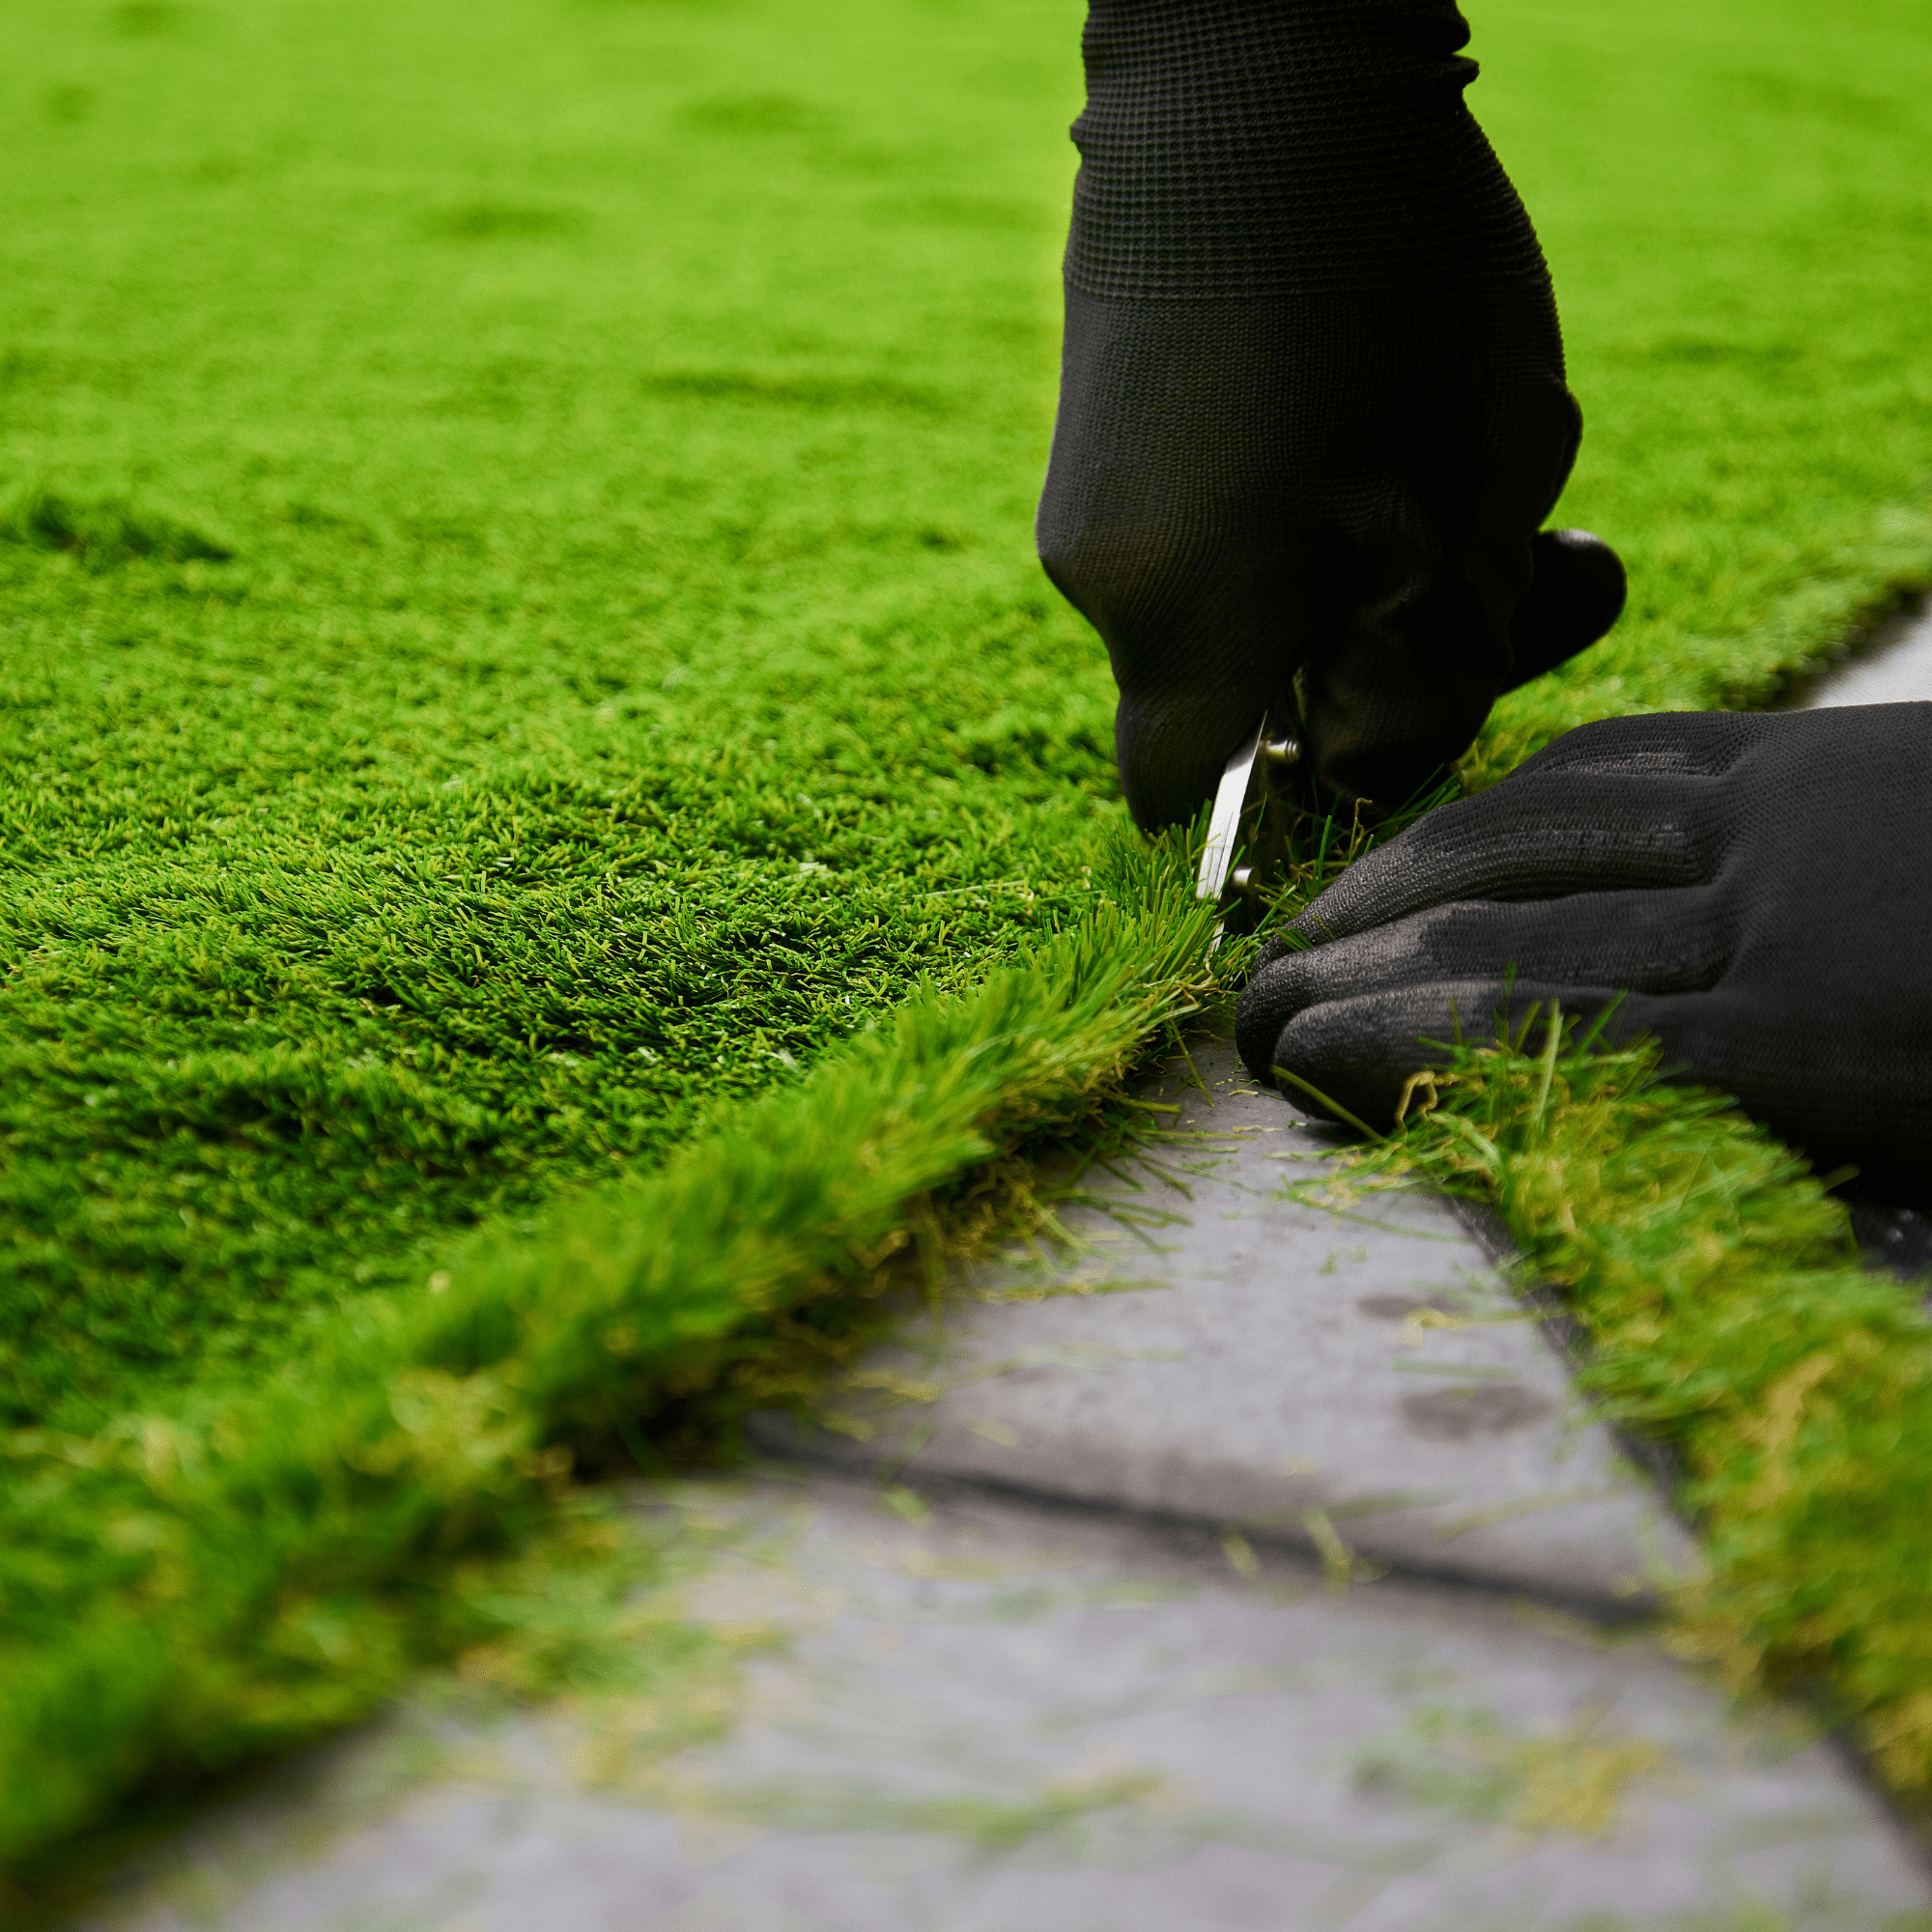
Step 5: Laying Out and Securing Turf
Next, you will roll out the turf directly on top of the base area. Try not to trample or mess up the crushed fines that you just installed. Any indentions that you create now might show up when the turf is laid out. Once the turf rolls are in place, you can begin cutting the seams and gluing them together.
Then you’re going to stretch and secure the turf into your base layer. This step in the installation process is very similar to installing carpet in your home. You’re going to use body strength and some tools to get the turf as tight as possible. Once you’ve stretched the turf, use the nails and drive them through the turf and base. Get the nails as far down as you can to make certain the turf is secure and without tripping hazards.
Step 6: Adding the Infill
You’re almost done! One of the final steps for installing artificial turf for dogs is adding in the infill. The infill is the material that weighs down the turf and gives it ballast. You may have seen infill before if you’ve seen black pieces of rubber kicked up by football players’ cleats during a game.
Infill can be made of sand, silica sand, organic materials, rubber, etc. Typically for installing artificial turf for dogs you’re going to use a sand or silica sand infill. You will install the infill using the seed broadcaster. It is important that you apply the infill evenly across the turf. Which will prevent any “lumpy areas” where the infill has piled up.
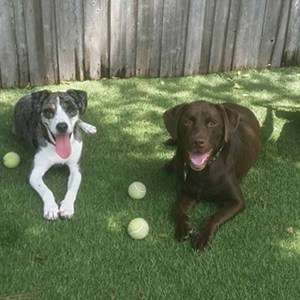
Step 7: Fetch!
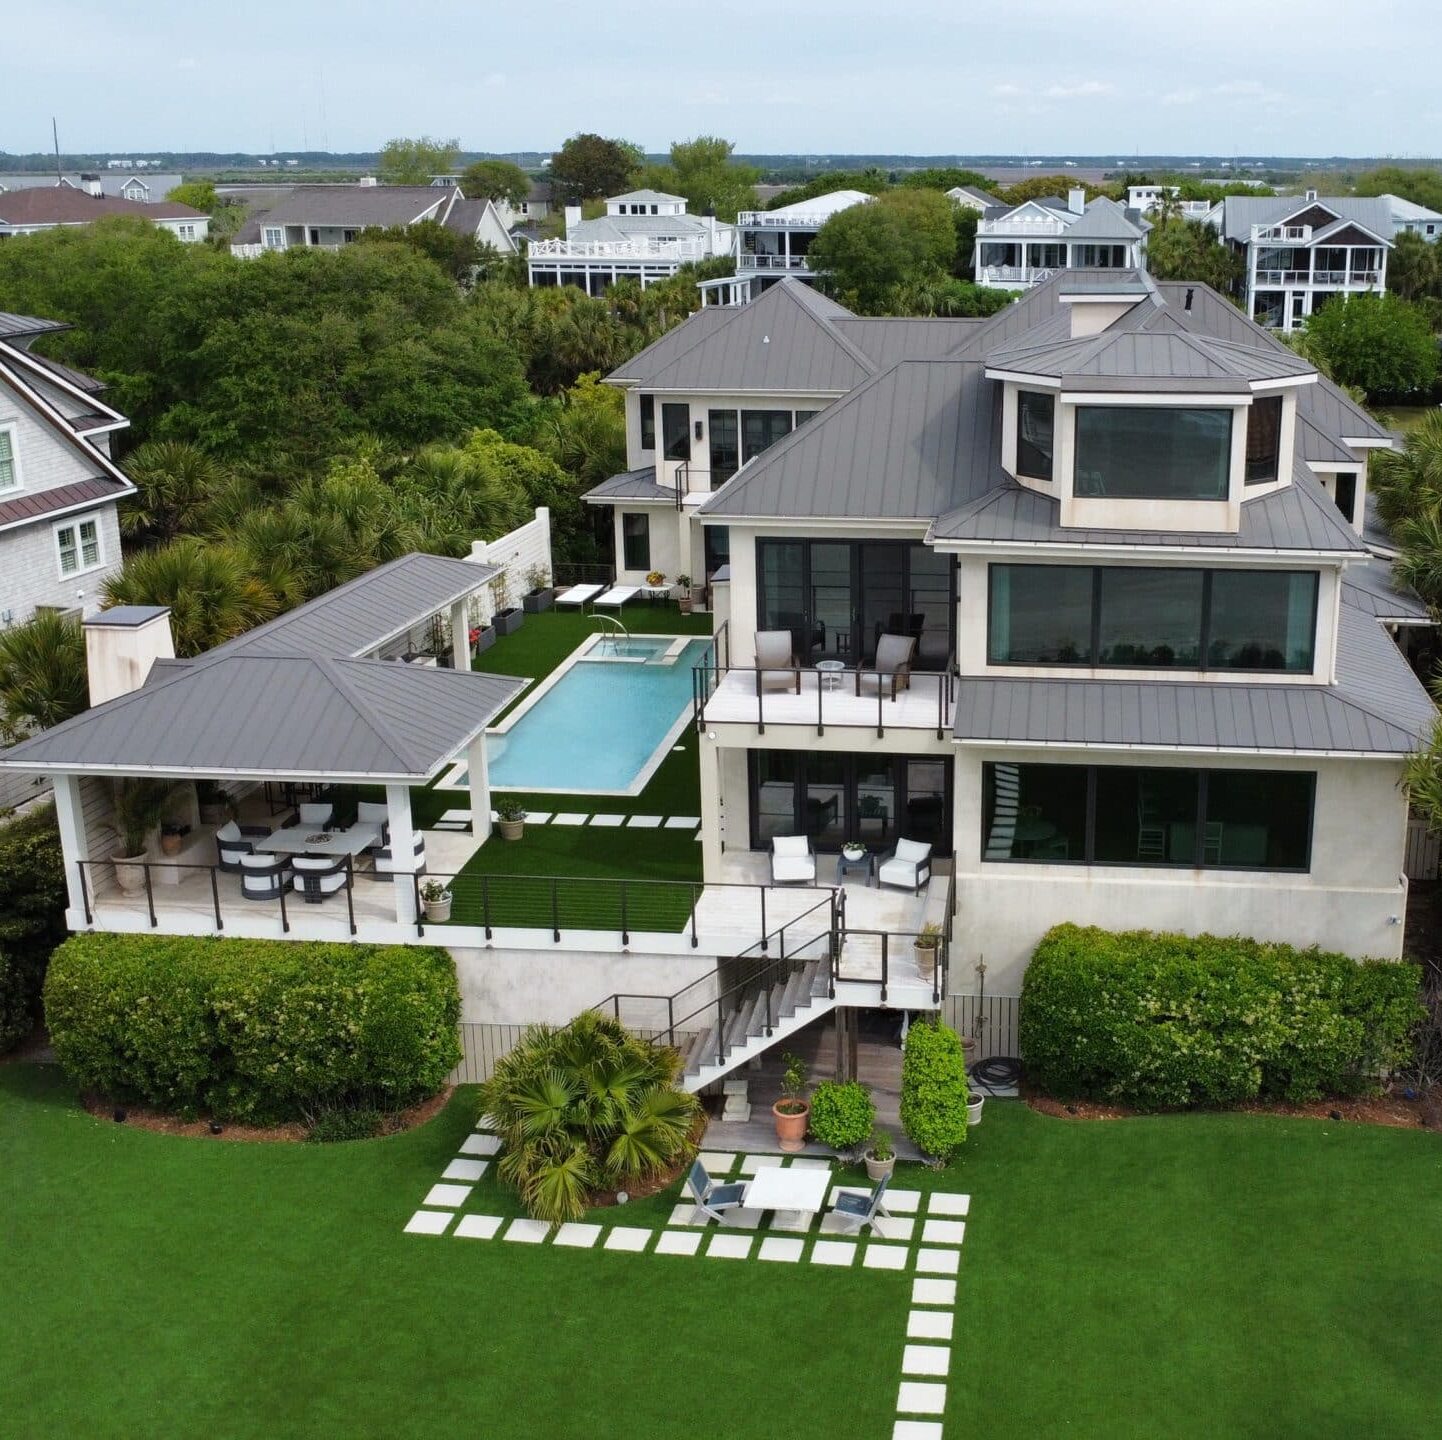
Now it is time to take your dog out to enjoy your new backyard! It is a big undertaking but now that you’ve finished its time to celebrate. No more muddy paws or overgrown weeds to deal with. You now have a pet friendly, non-chemically treated backyard for your best friend.
If at any point you find that you’re taking on more than you can handle for your project. Please give one of our ProGreen Turf Experts a call. They can help provide you with insight or a Free Quote to install artificial turf for your dogs.